I know, I know.
I've deserted you. :( But, I am now making it up to you!
"How?" You impatiently inquire.
"Well, it has to start at the beginning." I resolutely reply.

Some people are hooked on TV series.
Some people are hooked on a brand.
Some people are hooked on a book series. 
I'm hooked on funfetti.
And s'mores. But that post will come later.
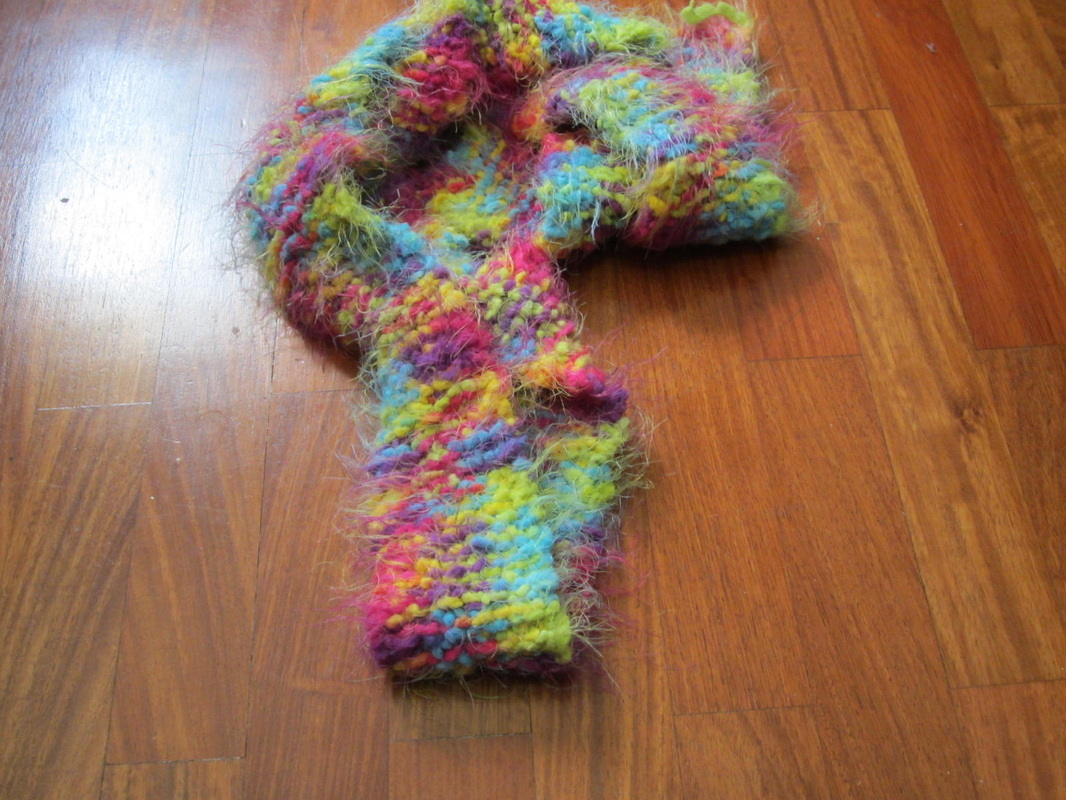
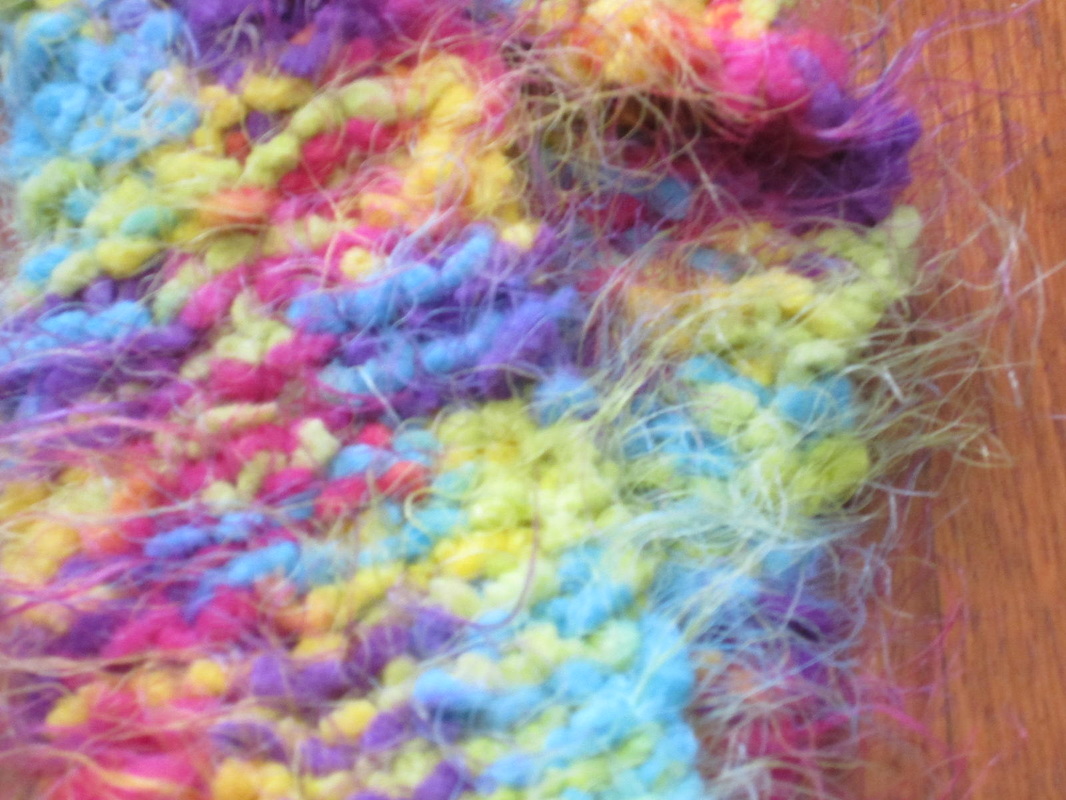
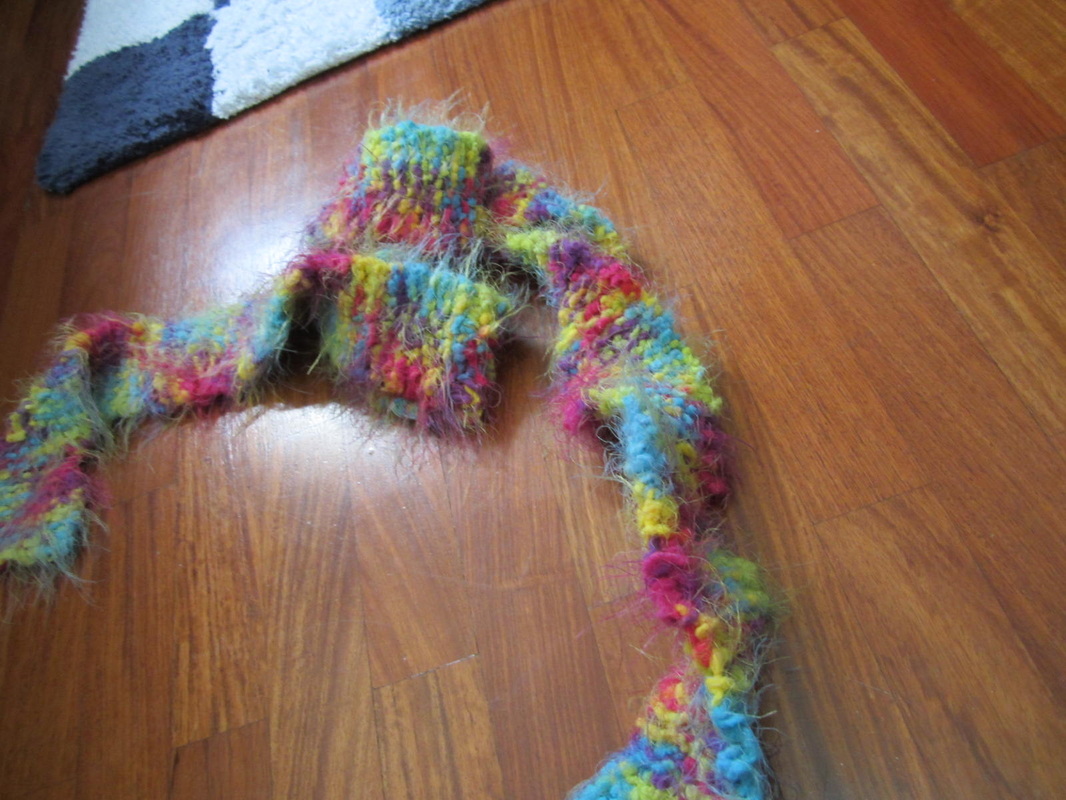
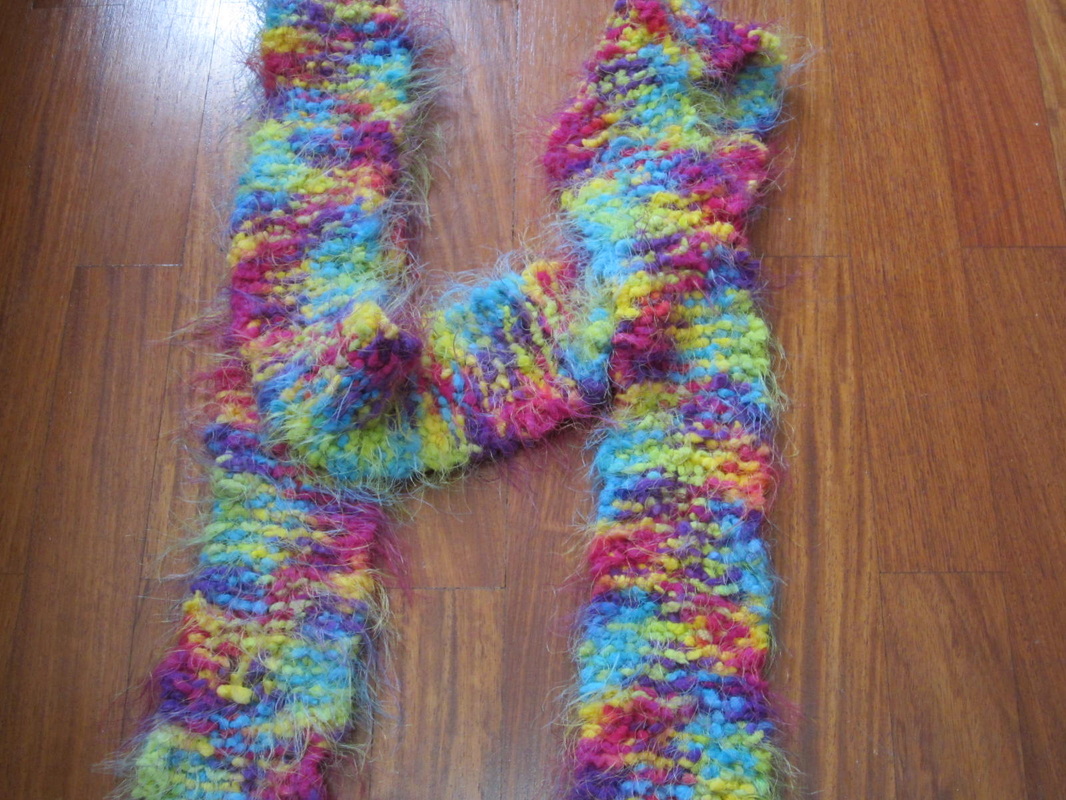
Anyway, here is an easy way to spruce up a hair elastic. Cheap, easy, fun, and it makes you laugh. (At least, it makes ME laugh! :D )
1 hair elastic 
fun yarn
scissors

Cut the yarn into a lot (depends on the yarn and hair elastic. I cut about 10 pieces at a time, then did that until the hair elastic is full) 2-3 inch pieces. Tie it on the hair elastic till there is no part showing. :) Enjoy!
 
Recently I finished a lovely, long scarf that is about five feet long! Here are some pictures...
"It's so fluffy I'm gonna die!" (Despicable Me):P
Yes, it is lovely in the fall and winter. And of course, a one of a kind scarf does help. 
Yes, it does look better from here! And H for the lovely Hannah who is behind this mastermind evil of fluffy, rainbow, unicorn scarves. *He he he...* (evil laugh... the camera zooms out, and a granny is sitting in a rocking chair, knitting, with cookies and milk on a table. Yes, I hate stereotypical images. Leave no room for imagination!)
 
    I love hot cocoa. There is no way around that fact. The thing is, once you have had the basic hot cocoa, no matter how much you love it, you are probably craving some different types of hot cocoa. Here is a simple recipe for a hot cocoa you can use to store anything, from jewelry to hot cocoa mix.
    What you need:
  •  One small round cardboard box, with a lid
  • White felt
  • brown felt
  • glue dots
  • cotton balls
    What to do:
  1.  Measure the box (not the lid) for circumference. Next measure how tall the box is. Mark and cut out a piece of white felt that big. Place the bottom of the box onto the white felt, and, using a pencil, trace around it. Cut this out.
  2. Using glue dots, glue on the circle to the bottom of the box. Do the same with the rectangle.
  3. Take the lid of the box, and follow steps one and two, but when measuring the side, make it a bit longer than needed. Use the brown felt for the top of the lid.
  4. Measure the total height of the box, and cut out a white piece of felt that long and 1/2 inch long. Use a glue dot to fasten one end to the bottom of the box, about one inch from the bottom. Use another glue dot to fasten it to the lid.
  5. Using glue dots, fasten 3 or 4 cotton balls to the brown felt. Let everything dry before use.
    Variation:
Not a hot cocoa fan? Instead of brown felt, use the color of your favorite hot drink. You can also use any other color of felt instead of white.
 
 
        Have you ever had an old tee-shirt and didn't want to throw it away? Here are 5 good things to do with an old adult sized shirt. Have fun!
  1.  Cut off the sleeves of the shirt so the sleeve makes a slant where it was attached  to the rest of the shirt. There should be a longer side and a shorter side. On the shorter side, tie a piece of yarn. Slip it on your head, and wear it like a bandana.
  2. Cut off the collar on a shirt. Decorate with permanent markers, and wear as a necklace.
  3. Short of a headband? Cut off the cuff of a shirt, and use that instead.
  4. Measure your favorite mug, and create a mug holder. Trace the circumference of the bottom of the mug onto the shirt. Cut that out, then with a tape measure, measure around the side and height of the mug. Cut out a rectangle in the shirt that big. In that rectangle, cut a hole down the side large enough for the handle. On one side of the hole, sew a button. Cut out a rectangle in the shirt long enough to go from the button to the other side of the cloth. Sew it to the side without the button, and cut a hole on the side of the button, big enough to let the button stay in place. Sew the long rectangle to the piece of cloth you cut out first. Enjoy your mug holder!
  5. Use scraps from these projects to wrap gifts, cover a notebook or cork board, or to save for a small project or quilt.

    Hannah Harper

    I have loved doing crafts, cooking, and writing all my life. Ever since I was a little girl, I have had great joy helping make cookies (though I probably was more of a bother than a help!) and I loved putting my heart into drawings that only I could understand.  That is, until I would run off and do something else! Though I do not know you, and probably never will, I hope with all my heart that you will grow in your joy of creating items with your hands and heart.

    Archives

    September 2012
    July 2012
    June 2012

    Categories

    All
    Crafts For Rainy Days
    Pictures
    Shirts
    Storage